Custom Birthday Shirts
Create your own birthday shirt to make the event special!
We have t-shirt, tank top, long sleeve tee, hoodie, and sweatshirt for men & women.
Customize your first name and last name on our shirts. Many designs are available
Create your own birthday shirt to make the event special!
Rugs for speed lovers
Decorate your bedroom with our viking bedding set colection
Change skin and look of your car. Customize it to include your own signature.
Create your own style with our customized named sneakers.
The Door Car Vinyl Decal was made with – vinyl -specially designed for cars and motorcycles. Rapid air technology to help avoid bubbles under stickers. It was printed with eco-solvent colors that are environmentally friendly and laminated. Do not fade in the sun!
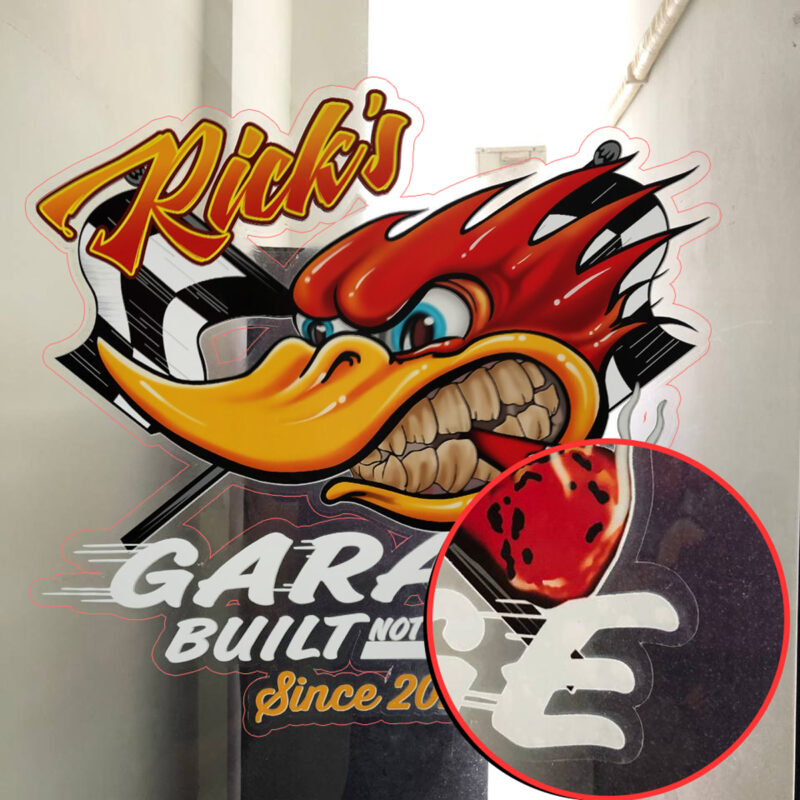
Transparent decals: These are transparent decals and these are UV coated to add durability and longevity to your stickers (even in direct sunlight).
Attention: These are not your $1 stickers or a variety of cheap screen prints that begin to peel, fade, and crack within a few weeks..


(This guide applies to large transparent decals and smooth surfaces.)
Note: For curved surfaces, you may have to use a hair dryer or heat dryer to heat the decals, then use your hands or a cloth to apply the decals to the surface, so applying the decals will achieve the best effect.
How To Apply A No-Contour Cut Decal
The Easiest Way To Apply Contour Cut Decals
Only logged in customers who have purchased this product may leave a review.
Yes. Our decals are made from premium vinyl with a protective glossy finish for durability and fade resistance, even in harsh environments
Yes, in most cases. Slight color or sharpness differences may occur due to screen settings. For custom orders, please review your final design preview when available.
Yes. If you’d like a final design preview, please request it when placing your order.
Dingmun decals are made to withstand intense sunlight without fading, resist peeling, and tolerate high heat. They're also scratch-resistant and built for long-lasting durability — perfect for cars and outdoor use. Choose Dingmun for a bold look that lasts!
We ship worldwide! Whether you are in the United States, Canada, Europe, Australia, or anywhere in the world.
Normally, it takes 3-5 business days to process the order and 7-20 business days to ship your products, depending on locations. Most orders are delivered within 15 business days from the shipping date.
We accept returns or replacements only for defective or incorrect items. If your item arrives damaged or not as described, please email us at [email protected] with clear photos of the issue.
For quality concerns, our team will review your request and provide further support.
Please note: Custom-made products are non-returnable unless they have a confirmed defect.
This guide applies to large transparent decals on smooth surfaces:
Dingmun decals work best on smooth, flat, and clean surfaces like car windows, laptops, glass, metal, or polished plastic.
Avoid textured or porous areas like fabric or rough walls. For best results, use a heat source on curved areas to help the decal adhere firmly.
Email us at [email protected]. We typically reply within 24 hours.
Reviews
There are no reviews yet.